Sound design plays a crucial role in storytelling, and as editors, we often find ourselves responsible for adding and managing sound effects during the post-production process. In this post, I want to share a simple but powerful tip for placing sound effects in Avid Media Composer that will save you time, maintain efficiency, and help your transitions sound smoother—especially when working on dialogue-driven scenes or complex environments.
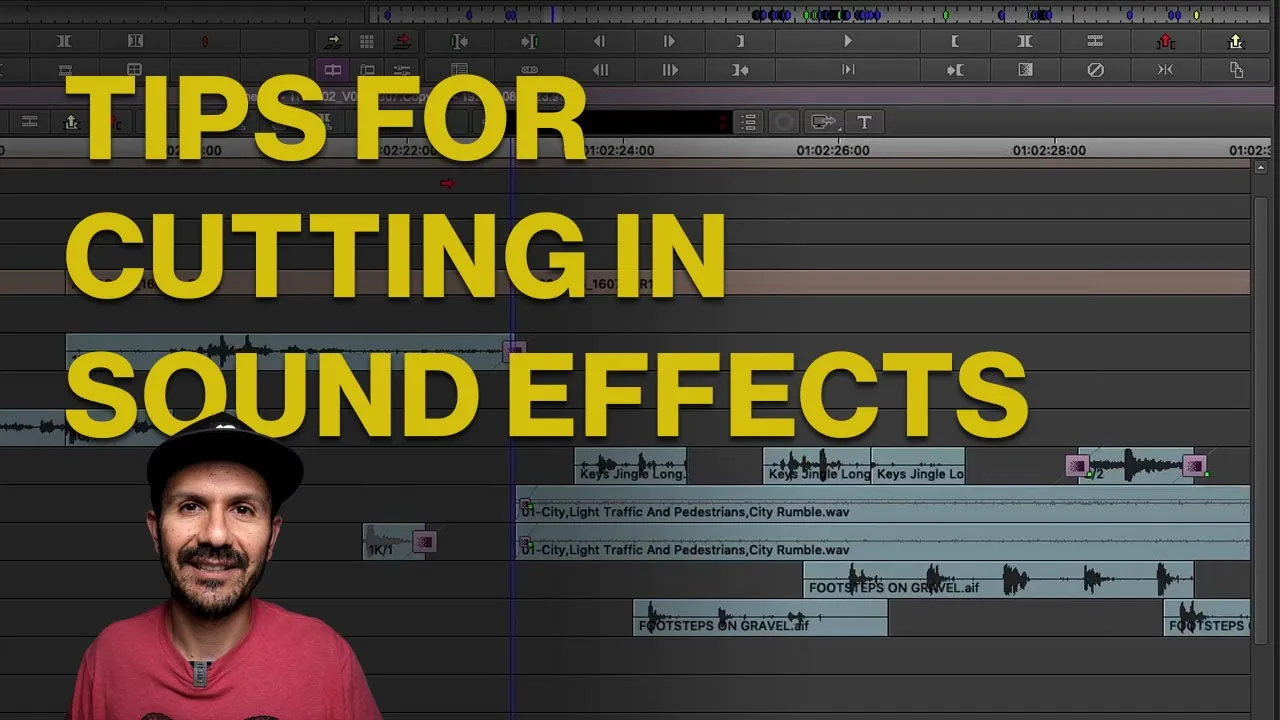
In a recent project, I was working on a short film that featured a scene with two characters getting out of a car and heading into a building. It may seem like a straightforward moment, but even the simplest scenes need thoughtful sound work. For this one, I added a light layer of city ambiance—traffic, pedestrians, and a city rumble—once the scene cut from inside the car to the outside world. The director wanted the interior to feel sealed off, so I used production audio while inside the vehicle and switched to a fuller library sound for the exterior transition.
Here’s where many editors fall into a common trap: when we find the right sound effect in our bin, we tend to cut it in exactly at the moment we need it—no room at the beginning or end. We simply set our in and out points and drop it in. The problem? That gives us zero flexibility when it comes to using audio transitions or making adjustments later.
Why This Is a Problem
Let’s say you want to add a fade-in to the ambient sound to create a smooth transition from one environment to another. If you didn’t include any extra frames at the beginning of the sound clip, your transition gets pinned to the cut point—often making it sound abrupt or jarring. Even worse, if your director or producer asks for a timing change—say, opening up a shot a few frames—you’re stuck. You have to either re-edit the audio or replace the clip entirely, which slows down your process and interrupts your creative flow.
The Fix: Always Leave a Buffer
To avoid this, I recommend giving yourself a little headroom. When you audition a sound effect and decide it works, grab a few extra frames at the beginning and end before cutting it into the timeline. Then, drop it in with that extra space so you have room to add audio transitions exactly where you want them—usually centered at the cut for smooth blending between scenes or environments.
By giving yourself that buffer, you’re also protecting your momentum. If you need to adjust the picture edit later, you can roll out the audio without having to do a bunch of manual fixes. Everything stays in sync and you avoid disrupting your rhythm.
This becomes even more important when working on larger projects with multiple sound layers and complex timelines. Saving a second or two here and there might not seem like a big deal—but those seconds add up, especially under tight deadlines.
For Assistant Editors
If you’re an assistant editor responsible for cutting in temp sound, adopting this habit will make your editor’s life much easier. They’ll appreciate that your timeline is flexible and ready for quick changes without needing constant rework.
Final Thoughts
This tip may sound simple, but it’s a workflow tweak that can dramatically improve your speed and precision. It’s all about thinking ahead—planning for the inevitable tweaks and maintaining a smooth, seamless sound throughout your cut. Little things like this can go a long way in helping you stay focused on the creative rather than getting bogged down by avoidable fixes.
Want more editing tips like this? Be sure to subscribe to the Hollywood Editing Mentor YouTube channel for practical advice on building your editing career and leveling up your skills inside the timeline.


0 Comments